Have you ever bought the same packet of seeds over and over, every planting season? Or maybe you’ve wondered why your tomatoes don’t taste as good as the ones your grandma used to grow?
If yes, then welcome. You’re exactly where you’re supposed to be.
Saving seeds isn’t just about gardening. It’s about taking control of your food, your money, and even your connection to nature. It puts you in the driver’s seat instead of relying on commercial seed companies every year.
And let’s be honest, with rising food prices and unpredictable supply chains, we need more independence and less dependency.
This beginner-friendly guide is here to make seed saving simple, smart, and seriously satisfying.
What is Seed Saving?
Seed saving is exactly what it sounds like: collecting seeds from your plants and storing them so you can grow from them again next season.
But here’s where it gets deeper:
- You’re preserving plant biodiversity.
- You’re protecting seeds from corporate control and genetic modification.
- You’re building your own resilient, local food system.
Benefits of Saving Seeds
1. Environmental Benefits:
- Reduces waste from packaging.
- Supports pollinators and healthy ecosystems.
- Keeps heirloom and rare varieties alive (yes, that purple carrot deserves a chance).
2. Economic Benefits:
- You save money. Period.
- You get more value: one tomato can give you dozens of seeds.
3. Cultural and Food Security:
- You help keep traditional crops alive.
- You’re not at the mercy of disappearing seed varieties from catalogs.
According to Seed Savers Exchange, over 93% of seed varieties sold in 1903 are no longer commercially available.
That’s a big deal.
The Basics of Seed Saving (Don’t Skip This Part!)
Okay, before you go off collecting every seed you see, there are some key basics you need to know.
1. Open-Pollinated vs. Hybrid vs. GMO –
- Open-pollinated (OP) seeds come from plants that pollinate naturally. These are the seeds you want. They give you plants just like the parent.
- Hybrid seeds are a mix of two different parent plants. You can save these, but the result might surprise you (and not in a good way).
- GMO seeds (Genetically Modified Organisms) are not usually available to home gardeners, and saving them can even be illegal.
2. Heirloom Seeds Are Your Best Friends –
Heirloom seeds are open-pollinated and have been passed down through generations. They’re known for taste, nutrition, and resilience.
And they carry stories.
Think of them as grandma’s vintage recipe – in plant form.
3. Pollination and Isolation Matter –
Some plants cross-pollinate easily. So, if you grow two types of squash side-by-side, don’t be shocked if your saved seeds give you a weird mutant fruit.
Use isolation techniques or only grow one variety at a time to keep seeds “true to type.”
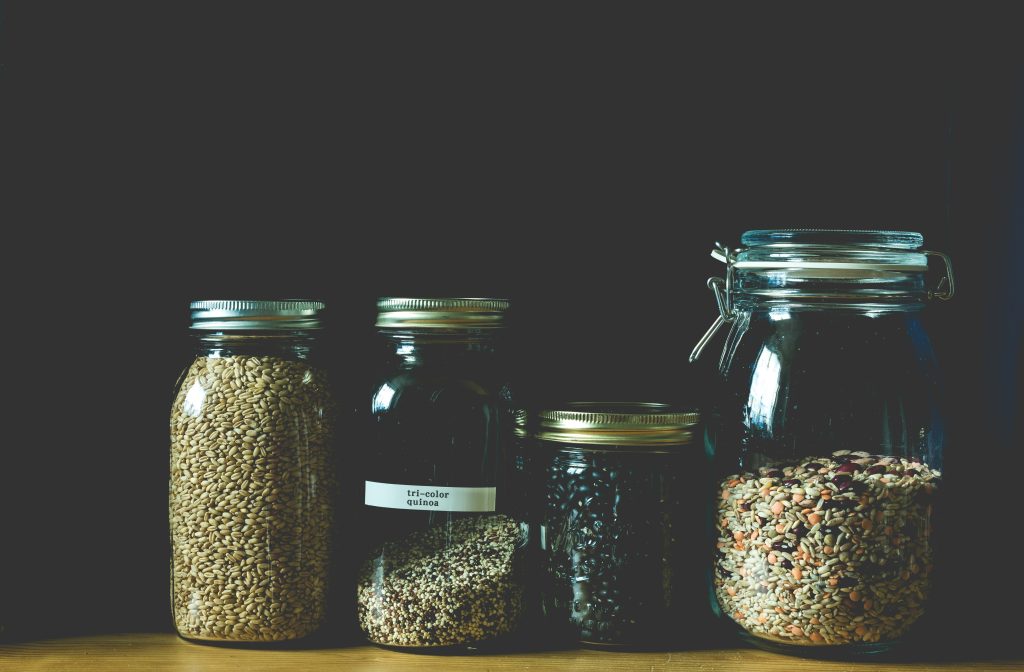
Tools and Setup for Seed Saving (You Don’t Need a Lab)
You don’t need fancy gear.
Here are the basics:
- Envelopes or small paper bags (never plastic) for storage.
- Glass jars with tight lids for long-term storage.
- Labels (date, variety, notes).
- Sieve or mesh screen for cleaning seeds.
- A cool, dark, dry place (like a pantry or closet).
You can also use a notebook or seed journal to track what you saved, how it grew, and what you’d change.
Best Plants to Start With (Especially If You’re New to This)
If you’re wondering which plants are easiest for beginners, here’s a short list that’s practically foolproof:
1. Tomatoes (Wet Seed):
- Let the fruit ripen fully.
- Scoop seeds into a jar with water.
- Let it ferment for 2–3 days (yes, it smells).
- Rinse, dry, and store.
2. Beans and Peas (Dry Seed):
- Let pods dry on the vine.
- Crack open and collect the seeds.
- Store once they’re completely dry.
3. Lettuce (Dry Seed):
- Let it bolt and flower.
- Seeds form in fluffy tufts (like dandelions).
- Gently pull and dry.
4. Basil:
- Allow to flower and form seed heads.
- Let seeds dry on the plant.
- Harvest carefully to avoid scattering.
5. Peppers:
- Let fruit fully ripen (red stage).
- Cut open, remove seeds, and dry on paper.
These plants are self-pollinating, which means less chance of cross-pollination. Perfect for beginners.
How to Save Seeds: A Step-by-Step Breakdown
Now let’s go hands-on. The process depends on whether you’re saving dry or wet seeds.
– Saving Dry Seeds (Beans, Peas, Lettuce, Flowers):
- Let seeds mature and dry on the plant.
- Collect seeds once pods are brown and brittle.
- Use a mesh sieve or your hands to clean off chaff.
- Air-dry seeds for several days.
- Store in a labeled envelope or jar.
– Saving Wet Seeds (Tomatoes, Cucumbers, Squash):
- Scoop seeds into a jar with water.
- Stir daily for 2–3 days (you’ll see mold—that’s normal).
- Good seeds sink, bad seeds float.
- Rinse thoroughly.
- Spread on a paper towel or screen to dry.
- Label and store.
| Pro Tip: NEVER dry seeds in direct sun or oven. It kills them. |
Labeling and Storage: This Part is Not Optional
– Labeling:
Include:
- Variety name (e.g., Cherokee Purple Tomato)
- Date saved
- Any notes (e.g., “From biggest plant”)
– Storage Tips:
- Keep in airtight containers (like mason jars or tins).
- Store in a cool, dark, dry place.
- Use silica packets to keep moisture low.
According to The Seed Savers Exchange, most seeds stay viable for 1–5 years if stored properly.
Pro Tip: Store your seeds in the fridge (but not freezer) for longer shelf life.
Common Mistakes Beginners Make (and How to Dodge Them)
- Saving from hybrids: You’ll get unpredictable plants. Stick with open-pollinated or heirlooms.
- Not drying seeds enough: This leads to mold. Seeds should snap, not bend.
- Using plastic bags: Traps moisture. Use paper or glass instead.
- Not labeling: Trust me, you won’t remember what those mystery seeds are in 6 months.
- Cross-pollination confusion: Some plants (like corn and squash) cross easily. Learn isolation techniques or just grow one variety per year.
The Joy of Seed Sharing and Swapping
Saving seeds is great. Sharing them? Even better.
When you swap seeds with other growers, you expand your seed library, discover new varieties, and build community resilience.
Local seed swaps, gardening clubs, and even online forums are great places to start.
You might find:
- A rare tomato that isn’t in any store.
- A local variety adapted to your climate.
- A friendship that grows along with your garden.
Try platforms like:
Legal and Ethical Considerations of Seed Saving
Here’s something most people don’t know: some seeds are actually patented.
– Things to Keep in Mind:
- Avoid saving patented or protected varieties. These are usually marked as “PVP” (Plant Variety Protected).
- Don’t sell seeds from patented plants—it can lead to legal trouble.
- Respect Indigenous and community seed knowledge. Don’t profit from seeds shared in trust.
Be ethical. Seed saving is not just science; it’s stewardship.
Final Tips to Boost Your Seed Saving Confidence
- Start small: Pick one or two easy crops.
- Observe and record: Keep notes on what worked and what didn’t.
- Get the whole family involved: Kids love squishing tomatoes and popping pea pods.
- Stay curious: Try saving seeds from something new each season.
Seed saving isn’t just for “experts.” It’s for everyone. Once you get started, it becomes a deeply satisfying ritual.
To Wrap Up
Saving seeds is more than just a gardening technique. It’s a movement. A lifestyle. A quiet rebellion against throwaway culture.
When you save seeds, you:
- Claim food sovereignty.
- Nurture biodiversity.
- Connect deeply with your plants, your place, and your people.
So go ahead. Pick a plant. Save the seed. Share the story.
Your future garden (and maybe someone else’s) will thank you.