Keeping your sprinkler system in top shape isn’t just about saving water — it’s about giving your plants the right amount of care, keeping your yard healthy, and avoiding sky-high water bills.
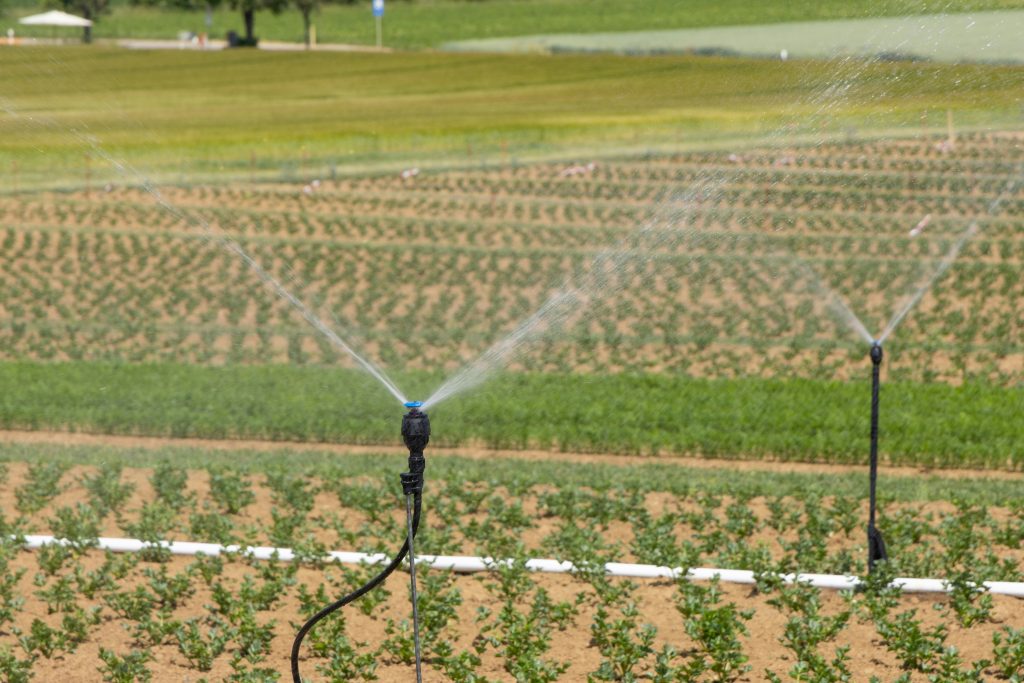
Sprinkler beds, the zones where your sprinkler heads sit and water is distributed, need regular servicing. If they’re clogged, misaligned, or leaking, you’ll waste water and stress out your lawn or garden.
In this guide, we’ll walk through how to service your sprinkler beds step by step.
And don’t worry — I’ll keep it simple, practical, and hands-on so you can follow along easily.
Why Should You Service Your Sprinkler Beds?
If you’ve ever seen dry patches on your lawn right next to puddles, that’s usually a sprinkler problem.
A neglected sprinkler bed can lead to:
- Wasted water and higher utility bills.
- Stress on plants due to uneven watering.
- Fungus, mold, or muddy areas from overwatering.
- Shortened lifespan of your sprinkler system.
According to the EPA’s WaterSense program, residential irrigation systems waste up to 50% of the water they use because of poor maintenance and inefficiency.
Servicing your sprinkler beds regularly can cut down on this waste while keeping your yard thriving.
Getting Ready: Tools and Safety First
Before you start servicing your sprinkler beds, gather the right tools.
You don’t need a full workshop — just few basics:
- Flathead screwdriver or adjustment key
- Pliers or wrench
- Replacement sprinkler heads or nozzles
- Small shovel or trowel
- Cleaning solution (vinegar works great)
- Gloves
- Bucket or container for flushing parts
Safety tip: Always turn off the water supply to your sprinkler system before you begin.
If you have an automated system, switch off the controller or unplug it. This prevents flooding and accidental sprays while you work.
Step 1: Inspect Your Sprinkler Beds
Start by doing a walk-through of your yard. Turn on the system (just for inspection) and check each sprinkler head.
Look for:
- Leaks: Water pooling around a sprinkler head usually means a broken seal or pipe leak.
- Clogs: Heads that don’t spray properly or only dribble water.
- Misalignment: Sprinklers spraying onto sidewalks, driveways, or walls.
- Dry patches: Signs that an area isn’t receiving enough water.
- Obstructions: Grass, mulch, or soil covering a sprinkler head.
Taking notes will help you prioritize what to fix first.
Think of this step as your sprinkler “check-up.”
Step 2: Clean and Unclog Sprinkler Heads
Clogs are one of the most common issues in sprinkler beds.
Dirt, grass clippings, or mineral buildup from hard water can block nozzles.
Here’s how to clean them:
- Turn off the system and remove the clogged nozzle.
- Rinse it under running water. Use a thin wire or paper clip to clear out debris.
- Soak nozzles in a vinegar-water mix if mineral deposits are visible.
- Rinse thoroughly and reattach.
| 💡Pro tip: Clean filters inside the sprinkler head as well. A clogged filter can reduce pressure and spray distance. |
This simple step often solves uneven spray issues right away.
Step 3: Repair or Replace Damaged Components
Not every issue is a clog. Sometimes, you’ll find cracks, broken parts, or leaks that need fixing.
– Common repairs:
- Cracked heads: Replace with the same type to maintain spray consistency.
- Leaky connections: Tighten or replace seals.
- Broken risers or pipes: Dig carefully around the bed and replace damaged parts.
- Faulty valves: If an entire zone isn’t working, the valve may need replacement.
If you’re unsure, most sprinkler heads come with model numbers.
Look them up on manufacturer sites like Rain Bird or Hunter Industries for repair guides.
Step 4: Adjust Sprinkler Alignment and Coverage
A sprinkler bed that sprays half your driveway is wasting water.
Adjusting alignment is simple:
- Use a screwdriver or adjustment key on the nozzle.
- Rotate the head so it sprays only on the intended area.
- Adjust the spray arc and distance as needed.
– Test for coverage:
- Place a few empty cans or containers across the lawn.
- Run the system for 10 minutes and compare water levels.
This “catch-can test” shows whether some spots get too much or too little water.
Step 5: Flush the System
Flushing clears out dirt, sand, and debris that may have entered the pipes.
- Remove the sprinkler heads at the end of each line.
- Turn the water supply back on briefly to flush out the line.
- Let water run for a minute or two until clear.
- Reattach heads and test again.
Doing this at least once a year keeps your system free of clogs.
Step 6: Test the System After Servicing
Once repairs and cleaning are done, test each zone:
- Run one zone at a time and watch how water is distributed.
- Check spray patterns, pressure, and coverage.
- Make final adjustments if needed.
If you notice low water pressure across the system, it may be a sign of a mainline leak or a pressure regulator issue.
This might be a good time to call a pro.
Eco-Friendly Upgrades for Sprinkler Beds
While you’re already servicing your sprinkler beds, it’s a smart move to make eco-friendly upgrades.
A few small changes can save thousands of gallons of water:
- Drip irrigation: Drip irrigation is perfect for flower beds and vegetable gardens, reducing evaporation.
- Smart controllers: Systems that adjust watering schedules based on weather or soil moisture. Check out EPA’s list of WaterSense-labeled controllers.
- Mulching: Adding mulch around plants reduces evaporation and keeps soil moist.
These upgrades not only help the planet but also cut your water bill significantly.
Seasonal Maintenance Tips for Your Sprinklers
Different seasons call for different sprinkler care routines:
- Spring: Inspect for winter damage, flush the system, and reset schedules.
- Summer: Increase watering frequency but adjust for rain to avoid overwatering.
- Fall: Reduce watering and clear debris around sprinkler beds.
- Winter: Drain the system and insulate pipes in freezing climates.
A seasonal checklist makes sure your system is always running at peak performance.
Troubleshooting Common Sprinkler Problems
Even after servicing, some issues may pop up.
Here’s a quick guide:
- Sprinkler won’t pop up: Could be low pressure, a clogged filter, or a broken spring.
- Low water pressure: Check for leaks or partially closed valves.
- Uneven spray: Likely a clog, misalignment, or wrong nozzle type.
- Persistent leaks: May point to underground pipe damage.
If you can’t solve the problem yourself, don’t hesitate to call a licensed irrigation specialist.
Sometimes a professional inspection saves you time and money in the long run.
In Conclusion
Servicing your sprinkler beds doesn’t have to be complicated.
With regular inspection, cleaning, repairs, and eco-friendly upgrades, you can:
- Save water and money.
- Keep your plants healthier.
- Prevent costly system failures.
Think of sprinkler servicing as part of your yard’s regular “health check.”
Do it once or twice a year, and your landscape will thank you with lush, green growth all season long.
Remember, every drop of water you save makes a difference for your wallet and for the planet.