Ginger is one of those plants that feels magical. It’s not just a spice sitting in your kitchen, it’s medicine, it’s flavor, and it’s a piece of living history.
Whether you want to grow ginger for its health benefits, its unique taste, or simply for the joy of growing your own food, this guide will take you through every step.
I’ll keep things simple, clear, and practical like we’re talking over a cup of tea with a slice of fresh ginger in it.
Why Grow Ginger at Home?
Before we jump into the “how,” let’s talk about the “why.” Store-bought ginger often travels thousands of miles before it reaches you.
That means it loses freshness, and sometimes it’s treated with chemicals to preserve it.
When you grow ginger at home:
- You get fresh, chemical-free ginger whenever you need it.
- It’s surprisingly easy, ginger doesn’t demand constant care.
- You can grow it even in small spaces — pots, containers, balconies.
- It’s eco-friendly as you’re reducing food miles and packaging waste.
Ginger is packed with benefits too.
According to Healthline, it helps with digestion, reduces inflammation, and boosts immunity. So not only is it good for your meals, it’s good for your body.
What Type of Plant is Ginger?
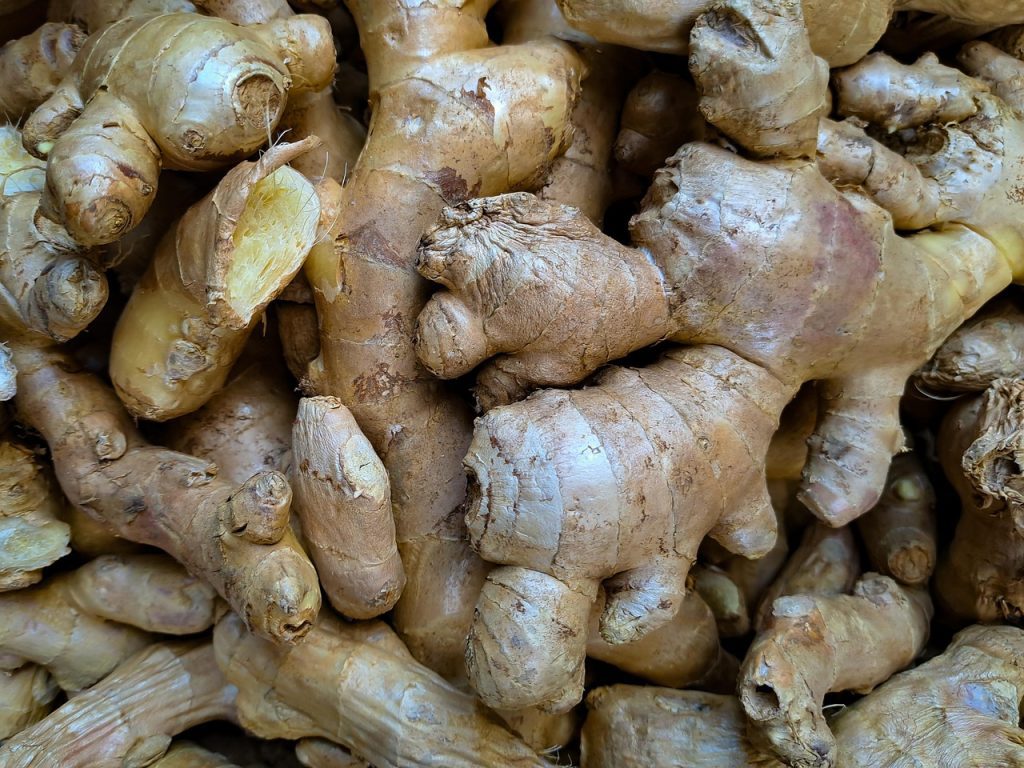
Let’s clear something up first — ginger is not a root.
What you see in stores is actually a rhizome, an underground stem that stores nutrients. From this rhizome, ginger grows leafy shoots above the soil and roots below.
- Scientific name: Zingiber officinale
- Origin: Tropical Asia
- Growing habit: Perennial (lives for years) in warm climates, but often grown as an annual in cooler regions.
If you live in a warm, humid place, you can grow ginger outdoors year-round. But don’t worry, if you live in a cooler climate, you can still grow it indoors or in containers.
Preparing to Grow Ginger
Before planting, you need to set the stage. Ginger is easygoing, but like all plants, it has preferences.
– Climate and Season:
Ginger thrives in warm and humid weather. The ideal temperature is between 22°C to 30°C (72°F to 86°F).
It hates frost, so if your winters are cold, start ginger indoors or grow it in pots that can be moved inside.
👉 Best time to plant: Spring, when the soil is warm and there’s no risk of frost.
– Soil Requirements:
Ginger loves loose, loamy, well-draining soil. Think rich soil that feels soft and crumbly, not clay-heavy or sandy.
Add compost or aged manure before planting, it will thank you with faster growth.
👉 Soil pH: 5.5 to 6.5 (slightly acidic).
– Ground vs. Containers:
- Ground planting: Great if you have a garden with good soil.
- Container planting: Perfect for balconies, patios, or indoor growing. Use a wide and deep pot (at least 12 inches deep) since ginger spreads horizontally.
Selecting and Preparing Ginger Rhizomes
Here’s where the magic starts.
Your ginger plant begins with a small piece of ginger you can easily buy.
– Choosing Ginger Pieces:
- Buy organic ginger if possible, as it’s less likely to be treated with chemicals that prevent sprouting.
- Look for plump pieces with visible “eyes” (small bumps where shoots will grow).
- Avoid shriveled or moldy pieces.
– Preparing for Planting:
- Soak rhizomes in water overnight to remove chemicals or growth inhibitors.
- If the rhizome is large, cut it into 1–2 inch sections, making sure each piece has at least one “eye.”
- Let cut pieces dry for a day before planting, this prevents rotting.
Planting Ginger Step by Step
Alright, let’s plant!
- Choose a spot: Shady to partly sunny areas are best. Direct, strong sunlight can burn ginger leaves.
- Prepare the soil: Mix in compost and loosen the soil well.
- Plant depth: Place rhizomes 2–4 inches deep with the eyes facing upward.
- Spacing: Leave about 8 inches between each piece.
- Watering: Keep the soil consistently moist but never waterlogged.
- Mulch: Add a layer of straw, leaves, or compost to lock in moisture and protect the soil.
💡 Tip: Ginger is a slow starter. Don’t panic if you don’t see shoots for 2–4 weeks.
Caring for Your Ginger Plants
Now that it’s planted, ginger doesn’t need much pampering, but a little care goes a long way.
– Watering:
- Keep soil moist at all times, especially in hot weather.
- Avoid soggy soil, it leads to rot.
- Reduce watering as the plant matures (closer to harvest time).
– Fertilizing:
- Use organic fertilizers like compost tea, worm castings, or liquid seaweed.
- Feed every 3–4 weeks during the growing season.
– Weeding:
Weeds can compete with ginger for nutrients.
Hand-pull weeds or use mulch to suppress them naturally.
– Pests and Diseases:
Ginger is fairly hardy, but watch out for:
- Root-knot nematodes (cause stunted growth).
- Bacterial wilt (leaves yellow and wilt).
- Leaf spot (brown spots on leaves).
Use organic pest control, neem oil, crop rotation, and healthy soil management help prevent most issues.
Harvesting Ginger
Here comes the fun part — the reward for your patience.
– When to Harvest
- Young ginger: 4–6 months after planting. Tender skin, mild flavor, great for pickles and tea.
- Mature ginger: 8–10 months after planting. Strong flavor, tougher skin, ideal for cooking and storage.
– How to Harvest
- Use a garden fork or gently dig with your hands.
- If you don’t want to harvest all at once, you can cut pieces from the edges and leave the rest to keep growing.
Post-Harvest Handling and Storage
Freshly harvested ginger can last weeks or months if stored correctly.
- Wash rhizomes gently to remove soil.
- Let them dry in a shaded spot for a few hours.
- Store in a cool, dry place.
For longer storage:
- Refrigerate in paper bags.
- Freeze in airtight containers.
- Dry slices for homemade ginger powder.
According to University of Florida IFAS Extension, proper post-harvest care can extend ginger’s shelf life significantly.
Sustainable Practices in Growing Ginger
Growing ginger can be more than just personal, it can be sustainable.
- Companion planting: Grow ginger with turmeric, chili, or leafy greens. It improves soil and pest resistance.
- Kitchen compost: Use your kitchen scraps as fertilizer.
- Save rhizomes: Keep a few pieces from your harvest to plant next season; self-sufficiency at its best.
Bottom Line
So that’s it! You now know exactly how to grow ginger, whether in your backyard, balcony, or even a kitchen pot.
It doesn’t take much space, and the rewards are huge: fresh flavor, health benefits, and the pride of eating what you’ve grown yourself.
Start small. Grab a fresh piece of ginger, put it in some soil, and watch it grow. In a few months, you’ll have your own supply of one of the world’s most powerful and delicious plants.