Let’s face it – clean water isn’t always available when we need it.
If you’re tired of rising water bills, fed up with water shortages, or just want to live more sustainably, learning how to harvest and purify rainwater at home is one of the smartest decisions you can make.
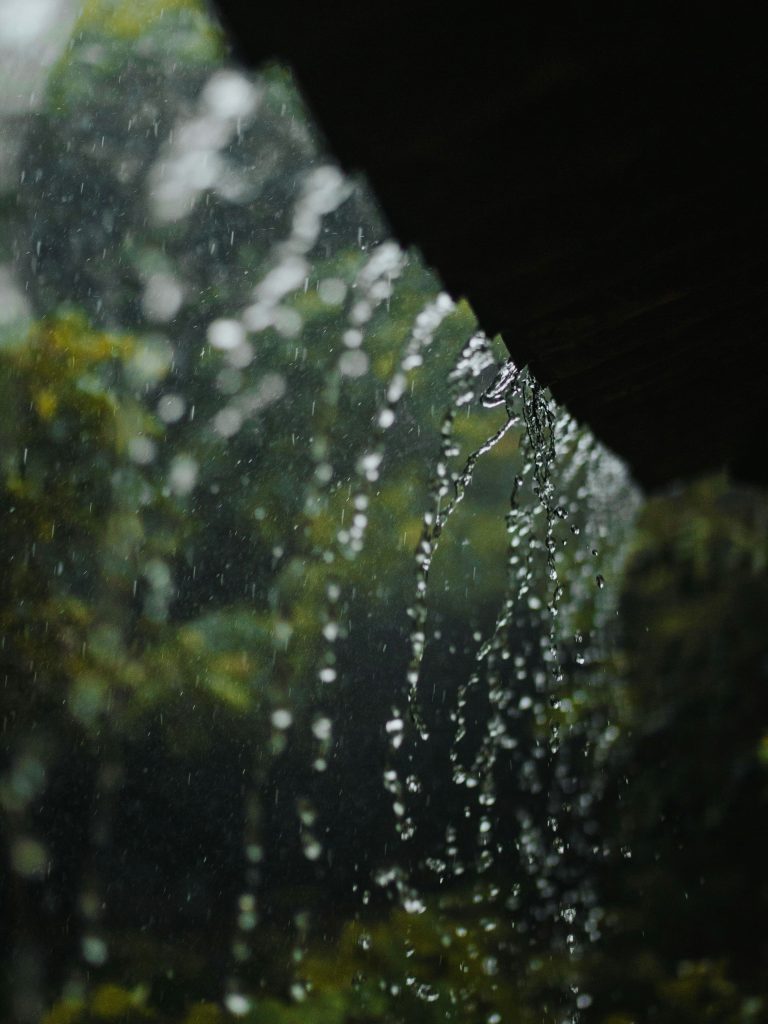
Rain falls freely from the sky. And with a little setup, you can collect that water, clean it up, and use it for almost everything in your home.
Sounds cool, right? Stick with me. I’ll walk you through the whole process in simple terms.
By the end of this guide, you’ll know exactly how to build your own rainwater harvesting system and how to purify rainwater safely. On your own!
Why Harvest Rainwater?
Before we jump into how, let’s talk about why you should even consider it.
1. It’s Free Water:
Once your system is set up, you get free water every time it rains.
That means lower utility bills and less dependence on unreliable municipal supply.
2. It’s Good for the Planet:
Rainwater harvesting helps reduce stormwater runoff, prevents soil erosion, and eases pressure on underground water sources.
It’s a big win for the environment.
3. It’s Great for Emergencies:
When the taps stop running or you get unexpected outages, having stored rainwater means you’re not stuck.
4. It Fits a Sustainable Lifestyle:
If you care about living green, this is a no-brainer. It’s one of the most practical things you can do to reduce your water footprint.
What is Rainwater Harvesting?
Rainwater harvesting is simply collecting, storing, and using rain that falls on your roof or other surfaces. Instead of letting it run off into drains, you collect it in tanks or barrels and make it usable.
A basic system has three parts:
- Catchment: Where the rain falls (usually your roof)
- Conveyance: How it gets from the roof to the storage tank (gutters and pipes)
- Storage: Where you store the water
Simple, right? But the magic is in doing it right so the water stays clean and usable.
Components of a Basic Rainwater Harvesting System
Let’s break down each part and see what you really need.
1. Catchment Area (Your Roof):
Your roof is the starting point. When it rains, your roof collects all that water. Metal roofs are best for this because they don’t leach chemicals.
Avoid roofs with asbestos or lead-based paint.
Tip: Clean your roof regularly. Dust, bird poop, and leaves can mess with water quality.
2. Gutters and Downspouts:
Gutters carry the water from your roof into your storage tank. Use PVC pipes or plastic gutters. Make sure they’re sloped properly so water flows easily.
Install a mesh screen to catch leaves and debris.
3. First Flush Diverter:
This part is key. The first rain washes off dirt from your roof. A first flush diverter lets that dirty water flow out before clean water enters your tank.
You can build one with a simple pipe and ball valve. There are also ready-made ones online.
4. Filters:
Before the water enters your tank, it should pass through a filter. This removes finer debris.
Here are a few types:
- Mesh filters (cheap and easy)
- Charcoal filters (removes smells and some bacteria)
- Sand and gravel filters (good for general filtering)
5. Storage Tank:
This is where your rainwater sits. Choose a tank that fits your space and needs.
– Good tank options:
- Plastic tanks (affordable and durable)
- Metal tanks (strong but can rust)
- Concrete tanks (long-lasting but heavy)
Size Tip: For every 1mm of rain on 1 square meter of roof, you can collect 1 liter of water. So, a 100m² roof with 10mm rain = 1,000 liters.
6. Overflow System:
When your tank is full, extra water should flow out safely, not cause flooding. Install an overflow pipe and direct it to your garden or soakaway pit.
How to DIY Build Your Own Rainwater Harvesting System
You don’t need to be an engineer to set this up.
Here’s how to build a basic system at home.
– Materials Needed:
- Gutters
- Downspouts
- First flush diverter
- Filter (sand/mesh/charcoal)
- Storage container
- PVC pipes and fittings
– Step-by-Step:
- Install gutters around your roof edge.
- Connect downspouts to channel water down.
- Add a first flush diverter to remove dirty initial runoff.
- Run the water through a filter box (sand, charcoal, mesh).
- Connect the filter to your storage tank.
- Add an overflow pipe.
Maintain it monthly. Check for clogs, clean filters, and keep the tank sealed.
How to Purify Rainwater for Domestic Use
Collected rainwater is great for flushing toilets, washing clothes, and watering plants.
But if you want to use it for drinking, cooking, or bathing, you need to purify it.
1. Basic Filtration:
Use a combination of sand, gravel, and charcoal filters to remove dirt and small particles.
– Build a basic filter barrel:
- Top layer: Fine sand
- Middle: Charcoal
- Bottom: Gravel
Let water pass slowly through the layers before collecting it.
2. Disinfection Methods:
Here’s how to make your water safe to drink:
a. Boiling:
- Kill all bacteria and parasites by boiling water for 10 minutes.
- Simple and effective, especially in small quantities.
b. Solar Disinfection (SODIS):
- Fill clear plastic bottles with filtered water.
- Leave them under direct sunlight for 6-8 hours.
- UV rays from the sun kill bacteria and viruses.
More on SODIS: WHO Guidelines
c. Chlorination:
- Add household bleach (unscented, no additives).
- Use 2 drops per liter of water.
- Let it sit for 30 minutes before use.
d. UV Water Purifiers:
- Use electric or solar-powered UV purifiers.
- Great for indoor use if electricity is reliable.
3. Advanced Options:
If you want top-level purity:
- Ceramic filters (affordable and long-lasting)
- Reverse osmosis systems (removes almost everything but costs more and needs power)
Smart Ways to Use Your Rainwater
Once purified, your water can be used for almost everything at home.
– Best Uses:
- Drinking and cooking (if properly purified)
- Bathing
- Toilet flushing
- Washing clothes and dishes
- Watering plants and garden
- Cleaning floors
– Safety Tips:
- Always store purified water separately.
- Label containers clearly.
- Use test kits to check pH and bacteria if unsure.
Common Problems and How to Fix Them
Even the best systems have issues. Here’s how to deal with them.
1. Clogged Gutters:
Leaves, dirt, and bird droppings can block gutters. Clean them out monthly.
2. Algae in Tanks:
If your tank gets too much sunlight, algae will grow. Use an opaque or dark-colored tank and keep it sealed.
3. Mosquito Breeding:
Mosquitoes love stagnant water. Cover all openings with mesh and keep the tank lid tight.
4. Bad Smell:
This usually means organic matter (like leaves) is decaying in the tank. Empty and clean it out. Add charcoal to absorb smell.
Final Thoughts
You don’t need a massive setup to get started. Even a few buckets under your roof can make a difference.
Start small, learn the process, and scale up as you go.
Rainwater harvesting is one of the most effective, low-cost, and eco-friendly ways to live sustainably. It saves money, protects the environment, and gives you a backup plan when the tap runs dry.
So go ahead. Build that system. Enjoy clean, free water from the sky. And take one more step toward a greener life.