If you’ve ever looked at your kitchen scraps and wondered if there was a better way to put it to good use.
Yes, there is!
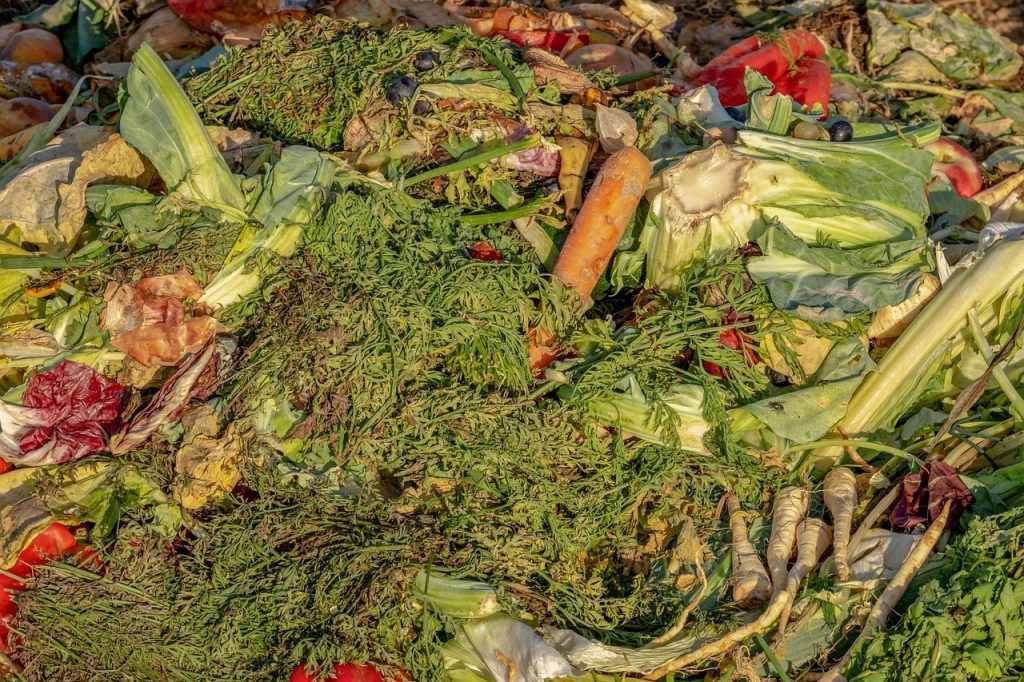
You can actually turn your kitchen waste into liquid fertilizer. Yep, that leftover rice water, veggie peels, and even banana skins can become powerful food for your plants.
Not only does this save you money on buying chemical fertilizers, but it also helps reduce waste, keep your home greener, and build healthier soil.
In this guide, I’ll walk you through exactly how to turn your everyday kitchen scraps into nutrient-rich liquid fertilizer.
And don’t worry, I’ll keep it simple, practical, and 100% beginner-friendly.
Why Liquid Fertilizer is Better for Home Use
So, why choose liquid fertilizer over regular compost or chemical fertilizers?
1. Faster Nutrient Absorption:
Liquid fertilizers deliver nutrients directly to plant roots through water.
That means quicker absorption and faster plant growth.
2. Great for Potted and Indoor Plants:
If you’ve got a small home garden or balcony pots, this is perfect.
Liquid fertilizer is easier to control and apply, especially in tight spaces.
3. Reduces Food Waste:
Instead of throwing kitchen scraps into the bin, you turn them into something useful.
This cuts down on methane emissions and helps reduce landfill waste.
According to the United Nations Environment Programme, about one-third of all food produced globally goes to waste.
So every banana peel you reuse makes a difference.
What Kitchen Waste Can You Use?
Let’s talk about ingredients. You probably already have what you need.
– Best Kitchen Scraps to Use
- Vegetable peels (carrot, cucumber, potato)
- Fruit peels (banana, mango, orange)
- Used tea leaves and coffee grounds
- Rice water or pasta water (unsalted)
- Spoiled fruits and veggies
- Citrus peels (for fermentation method)
These are rich in nitrogen, potassium, calcium, and phosphorus, which are all important for plant health.
– What to Avoid
- Meat, bones, dairy
- Oily or greasy foods
- Spicy or salty leftovers
- Processed foods
These can rot badly, attract pests, or introduce pathogens. Stick to plant-based scraps.
Methods for Making Liquid Fertilizer from Kitchen Waste
There are a few ways to make liquid fertilizer at home.
You can try one or all, depending on what you have and how fast you want results.
1. The Soak Method (Passive Steeping)
This is the easiest and fastest method. No smell, no pests, no effort.
– What You Need
- A large glass jar or bucket
- Fruit and veggie peels
- Water (preferably clean, chlorine-free)
- A strainer
– Steps:
- Collect your fruit and veggie scraps for the day.
- Chop them into small pieces.
- Add them to your jar and cover with water.
- Let them soak for 3 to 5 days. Stir once a day.
- Strain the liquid and store it in a clean bottle.
- Use the leftover solids in your compost or garden bed.
This water will be full of nutrients and ready to feed your plants.
Dilute it 1:5 with plain water before use.
2. The Fermentation Method (Bio-Enzyme Style)
If you want something more potent, try this.
– What You Need:
- 1 part citrus peels or fruit waste
- 1 part jaggery or brown sugar
- 10 parts water
- Airtight plastic container (with space for gas buildup)
– Steps:
- Mix the fruit waste, sugar, and water.
- Seal the container tightly.
- Store in a warm place for 30 to 60 days.
- Open occasionally to release gas.
- Strain the liquid and dilute before using.
- This makes a powerful natural fertilizer and even acts as a pest repellent.
Fermented fertilizers are loaded with good microbes that help plants absorb nutrients better.
3. Compost Tea (If You Already Compost)
If you already compost, compost tea is a bonus fertilizer.
– What You Need:
- A handful of finished compost
- A bucket of water (non-chlorinated)
- A stick or spoon to stir
– Steps:
- Add compost to the water.
- Stir once or twice a day.
- Let sit for 3 days.
- Strain and use.
Compost tea improves soil structure, boosts plant immunity, and helps control diseases.
How to Store Your Liquid Fertilizer
Storage matters. Here’s how to keep it fresh and effective.
– Tips:
- Use dark-colored bottles (light degrades nutrients)
- Store in a cool place away from direct sunlight
- Label the bottle with date and type
– Shelf Life:
- Soak Method: 1–2 weeks
- Fermented Bio-Enzyme: 3–6 months
- Compost Tea: 1 week (use ASAP)
Always shake the bottle before use. If it smells too foul or grows mold, toss it.
How to Use Liquid Fertilizer Effectively
Never use it straight. Always dilute with water.
- Standard ratio: 1 part fertilizer to 10 parts water
- For delicate indoor plants: 1:15
– When and How Often?
- Once a week during the growing season
- Twice a month during dormant periods
– Best Times to Apply
- Early morning or late evening (avoid hot sun)
- Water the soil, not the leaves, to prevent burning
Use a watering can or spray bottle for smaller plants.
If you’re using compost tea, you can also pour directly around the base.
Tips to Boost Nutrient Power
If you want to give your homemade fertilizer an extra kick, try these natural boosters:
- Banana peel water – high in potassium
- Rice water – great for root growth
- Onion peel water – boosts flowering
- Used tea leaves – nitrogen-rich and improves soil texture
Mix and match based on your plants’ needs.
Common Problems and How to Fix Them
– Bad Smell?
- You probably used meat or dairy by mistake.
Solution: Throw it out and start fresh.
– Mold Growing?
- Too much air exposure or dirty container.
Solution: Sterilize your container next time.
– Attracting Flies?
- Your scraps weren’t fully submerged.
Solution: Always keep the scraps underwater.
Safety and Eco-Friendly Tips
- Always wear gloves if dealing with fermented waste.
- Don’t use on edible plants just before harvest (wait at least a week).
- Reuse plastic bottles or jars to store fertilizer.
Bottom Line
Turning kitchen waste into liquid fertilizer is one of the easiest and most impactful things you can do for your garden and the planet.
It saves money, reduces waste, and creates a healthier ecosystem right in your backyard or balcony.
Whichever method you try – the soak method, fermentation, or compost tea – the key is consistency. Start small, experiment, and share what works.